I've been wanting to build K a brachiation ladder for quite a while. I even bought the dowel & hardware last fall but kept putting of building it because with the directions in Glenn Doman's Physically Superb book you need to drill holes & without a drill press it is hard to line them up just right...............at least for a carpenter with my experience ;) . I'm sure I would have ended up having to drill out the holes to get the dowels to go through & of course they wouldn't have been as snug.
Through the summer we have a old set of monkey bars in our yard but as fall closed in this year I again thought about ways to make a brachiation ladder. Being able to use them indoors makes a huge difference here in Canada where we have fairly long & cold winters. I posted the question on the Unlimited Potential (UP) group as well as the Down Syndrome Action Plan group. I got a great response from both groups & on the UP forum there were even a bunch of pictures posted. Check it out here.
None of the ideas seemed exactly right for what I wanted to do but they did get me thinking & I came up with a plan to make a brachiation ladder that was a little simpler to make.
This tutorial is for a ladder that is mounted directly to a wall or across a narrow room. The plus side is that you don't need to build the end supports but the negative is that it's not as easily adjustable.
note: I was concerned that because our ladder was going to be up against the wall that it would need to be a little wider. As it turns out that really wasn't a problem. This tutorial is to make a little wider ladder but you could always make the end boards & dowel a little shorter to make the ladder a little more narrow. Basically you can just build it to what suits you & your child.
First of all - this brachiation ladder is meant to be installed across a narrow room, hallway or any space that isn't too long. Before you get started you need to measure the length of your space to make sure you buy long enough boards.
Supplies
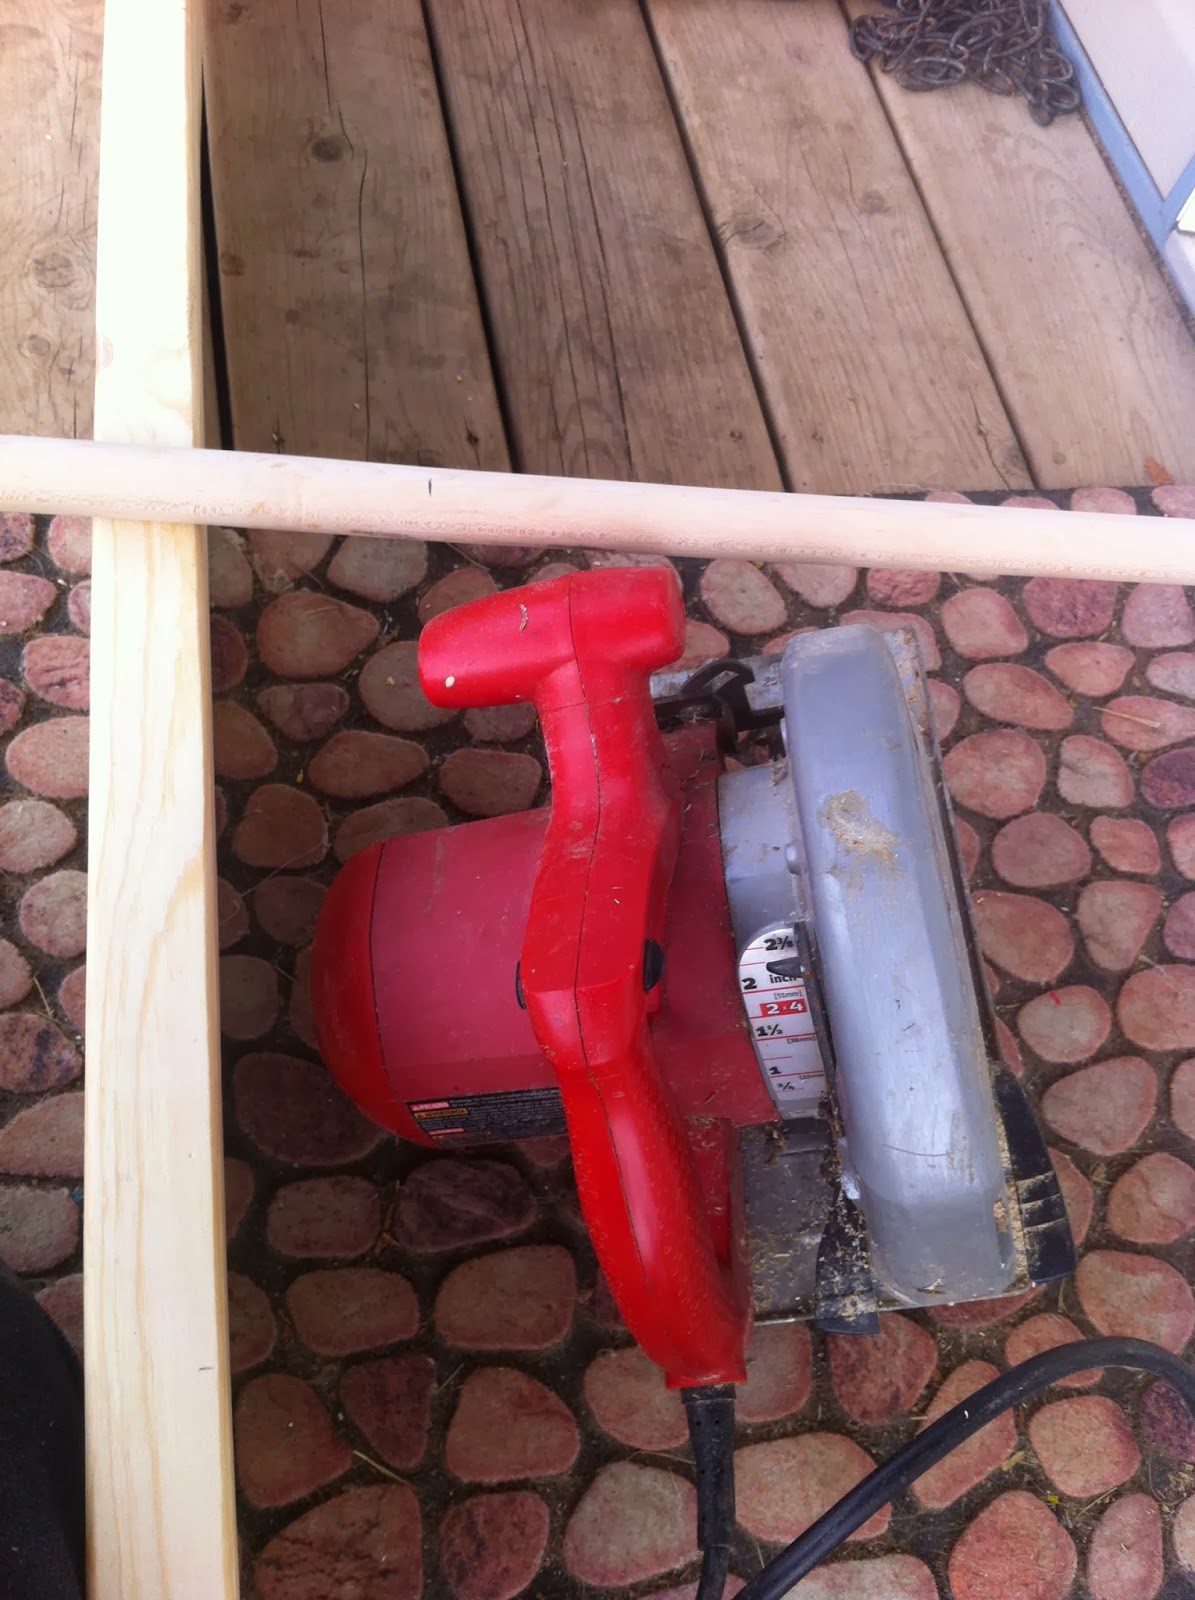
Tools - drill, hand sander, saw, tape measure, level, an extension cord will be handy
Materials -
Two long - 2X6's - This type of brachiation ladder is meant to be fitted into the wall or across a narrow room so you will need to measure your space & buy the appropriate length boards
Two 23" - 2X6's - I explained about K's physical program & K batted her beautiful eyes at the nice lumber yard guy & he walked over to his scrap pile, found a large 2X6 & cut it into 3 large chunks - way more than we needed!
tip - many hardware stores will cut the boards for you after purchase. Measure carefully though as you want it to fit very snugly into the space you are putting it in.
1" dowel -for the length of ladder I was making I needed 3 lengths of 1" dowel. Again, this may vary depending on the length of your ladder space & which lengths are available at your hardware store.
3/4 " hole straps - don't buy 1" ones like I originally did as they are too big & don't hold the dowel tight enough - even these were a little large (as you'll see as you get a little farther in the tutorial) you may even be able to buy 1/2 " ones but check first to see if the dowel fits through.
Sandpaper - I bought a few kinds - some courser & some finer grit
twenty four - 3.5" screws - 12 for putting the ladder together & about another dozen to secure it to the wall.
approximately forty eight - 1.5" screws
I just noticed that our newly adopted little dog & one of K's best buddies is in this picture. Isn't she cute?

The first thing that I did, which I don't have a picture of is to sand all of the boards excluding the dowel, first using the coarser sandpaper, then the finer grit.

Pre drill 3 holes on each of both long 2X6's.

Cut the shorter boards to 23 " & use the 3.5 " screws to fasten them to the longer boards using the predrilled holes.

measure the dowel & cut to 23"

Re sand the spot that your daughter drew on because she was being a carpenter & had to write some fancy symbols on the wood - normally I leave this kind of artwork but not this time :)

This is what makes this method so much simpler than a traditional brachiation ladder.

Now here's where things get really technical ;) for those of you that don't already know, we live on a farm. Anything that can't be fixed with duct tape, binder twine or crazy glue can probably be fixed by bashing it with a hammer :)
The clampy thingies were still a little to loose so I bashed them with a hammer to make them a little flatter.

After bashing the clamps with the hammer use the clampy thingies them to attach the dowels to the 2X6 frame with the 1.5" screws. Make sure they fit very snugly. You don't want the dowel twisting as your child is brachiating. If they are a little loose then you need to bash the clampy thingies a little harder.
I seem to have misplaced my copy of Glenn Doman`s Physically Superb book (I can`t seem to find it at the Gentle Revolution bookstore so this is a link to it on Amazon) recently so I didn't use their measurements. I did go by the measurements on another blog but since K is used to her monkey bars that have a very wide spacing & because she's growing & I want it to last longer I made about 10" apart with each end being slightly shorter to make the dowels all fit on the length of our board. This seems to work very well for her.

Continue to mount the dowel along the full length of the brachiation ladder.

At that point the main frame is done & it can be mounted to the wall of whatever room you want it in. If you have a stud finder this makes the job of screwing the ladder to a secure place on the wall a lot easier. K's Daddy & 2 big sisters helped with this which made the job go much more smoothly.
K loves her new brachiation ladder! We've had it up for about a week & she plays on it often including a before bed but after story session. She is never the first up in our house but she is often up as soon as she hears someone stirring which is usually around 6:45 on a school morning. Today at around 6:15 my husband & I heard some movement from in her room. Several minutes later the light flipped on - yes she had woken up early & was brachiating in the dark before turning on the light!
So far we've been mostly just letting K play on it & most of my pics look something like this:

"Look Mom! I'm hanging upside down!"
Here is a link to another tutorial which is still modified but is closer to the Doman model
Great! I hope to be able to do this soon!
ReplyDeleteYou may want to encourage her to wrap her thumbs around when grasping the rungs instead of using only her fingers to grasp. Says the picky OT - it's a grasp reflex thing...
ReplyDeleteHope you get a chance to make one Laura - k is spending so much time on hers - first thing in the morning, last thing at night & often through the day!
ReplyDeleteErin - thanks I'll have to watch her & see if she does this all the time or just in this pic. I'm really not sure but I know she sometimes wraps her fingers around.
What kind of mat do you use under it, like size and thickness?
ReplyDeleteSo far I just put these mats down:
ReplyDeletehttp://www.amazon.com/gp/aw/s/ref=is_box_?k=kids+foam+mats+4+piece+coloured
They are 2 layers thick but I'm actually looking for something a little taller & softer so I'm open to suggestions :) I only used these because I had a couple of packs laying around that I had just bought & planned to put downstairs in our creeping/crawling area to make it wider.
Thank you! Awesome!
ReplyDelete